

Step 1 - Setup a Basic Gateway
Choose your Development Approach
Select how you'd like to build your gateway. You can switch between approaches at any time.
Local Development
Develop and test your gateway locally using the Zuplo CLI. Full control over your environment.
In this tutorial we'll set up a simple gateway using Zuplo's local development. We'll use a simple origin API at echo.zuplo.io. In later steps, we'll set up a Zuplo project and deploy it to the cloud.
Requirements
- Node.js 20.0.0 or higher
Getting Started
Create a new project from scratch
-
Create a new project using
CodeThe create-zuplo-api tool supports creating projects from templates. This tutorial creates an empty project, but you can use other templates by specifying the
--exampleflag. -
Start your local gateway
Code -
Use the local Route Designer to create your first route. You can open the Route Designer by clicking the link in the terminal after you run
npm run dev.Code -
Add your first Route
Inside of the Route Designer, click the Add Route button.
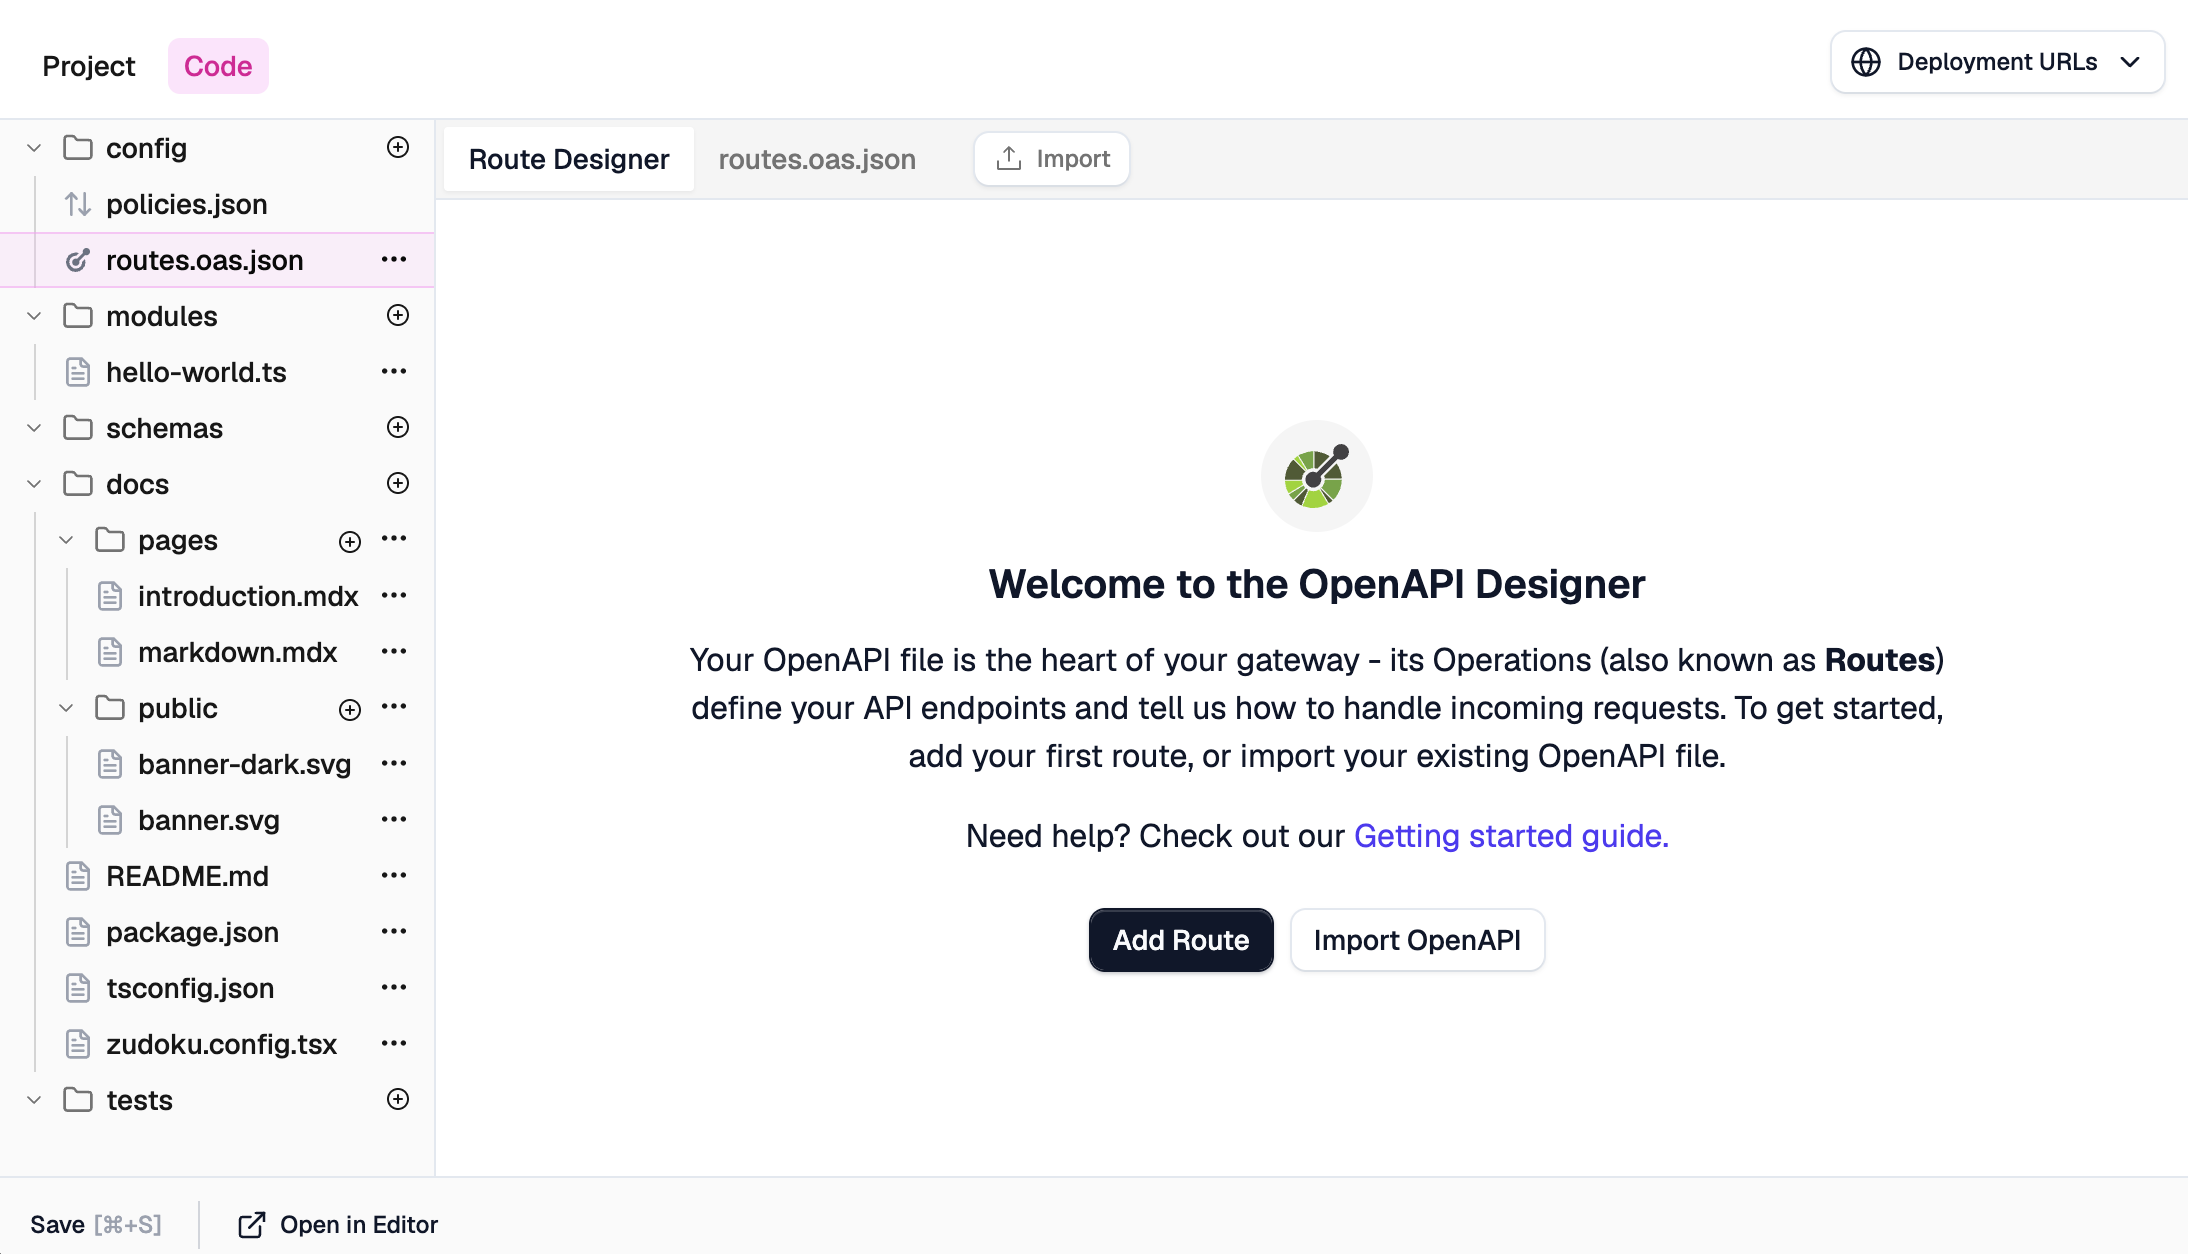
Your API's first route will appear, with many options. First we'll configure the route to match specific incoming requests to the gateway:
- Summary: Enter a summary, for example
Example Endpoint. - Method: Leave as
GET. - Path: The path will be pre-configured as
path-1. - Operation ID: Pre-configured based on the path summary.
Then we'll specify how the route will invoke the backend origin API, using a forward handler:
-
Request Handler: We'll use the URL Forward Handler which proxies requests by "Forwarding to" the same path on specified URL. In this case, enter
https://echo.zuplo.io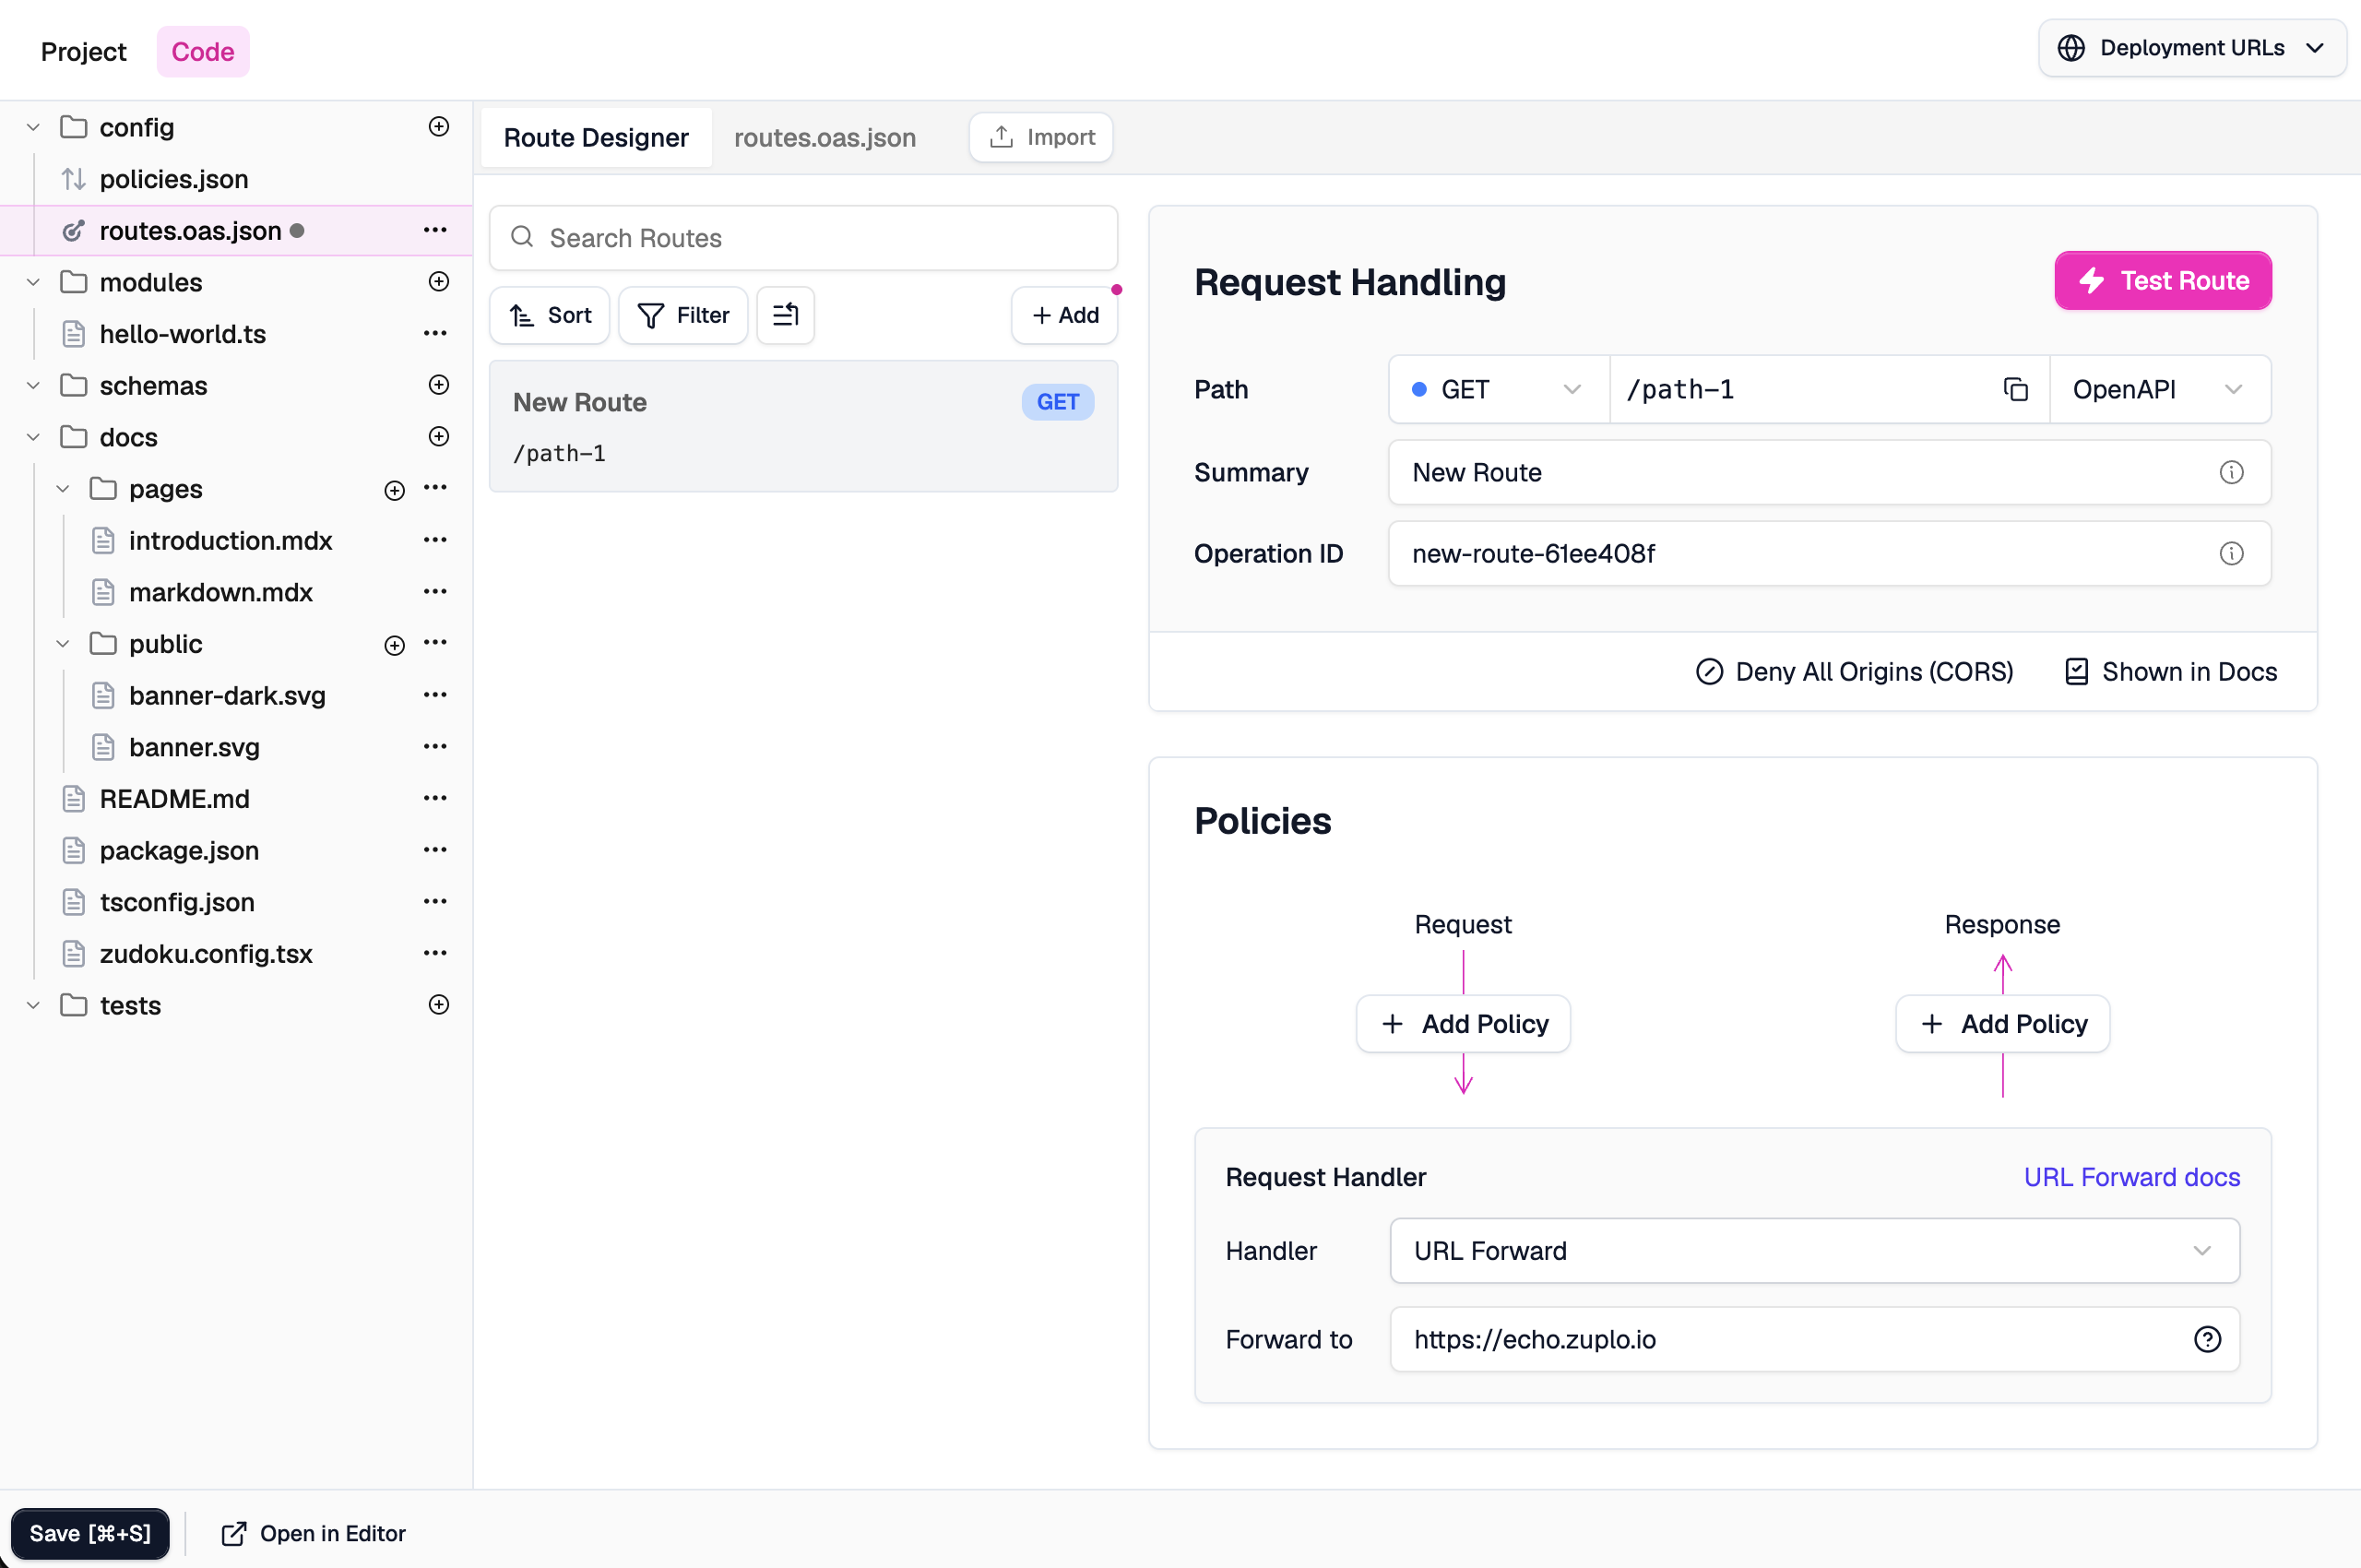
Save your changes - click Save in the bottom left, or press CMD+S
- Summary: Enter a summary, for example
-
Test your route
You can test this route by clicking the Test Route button in the route designer.
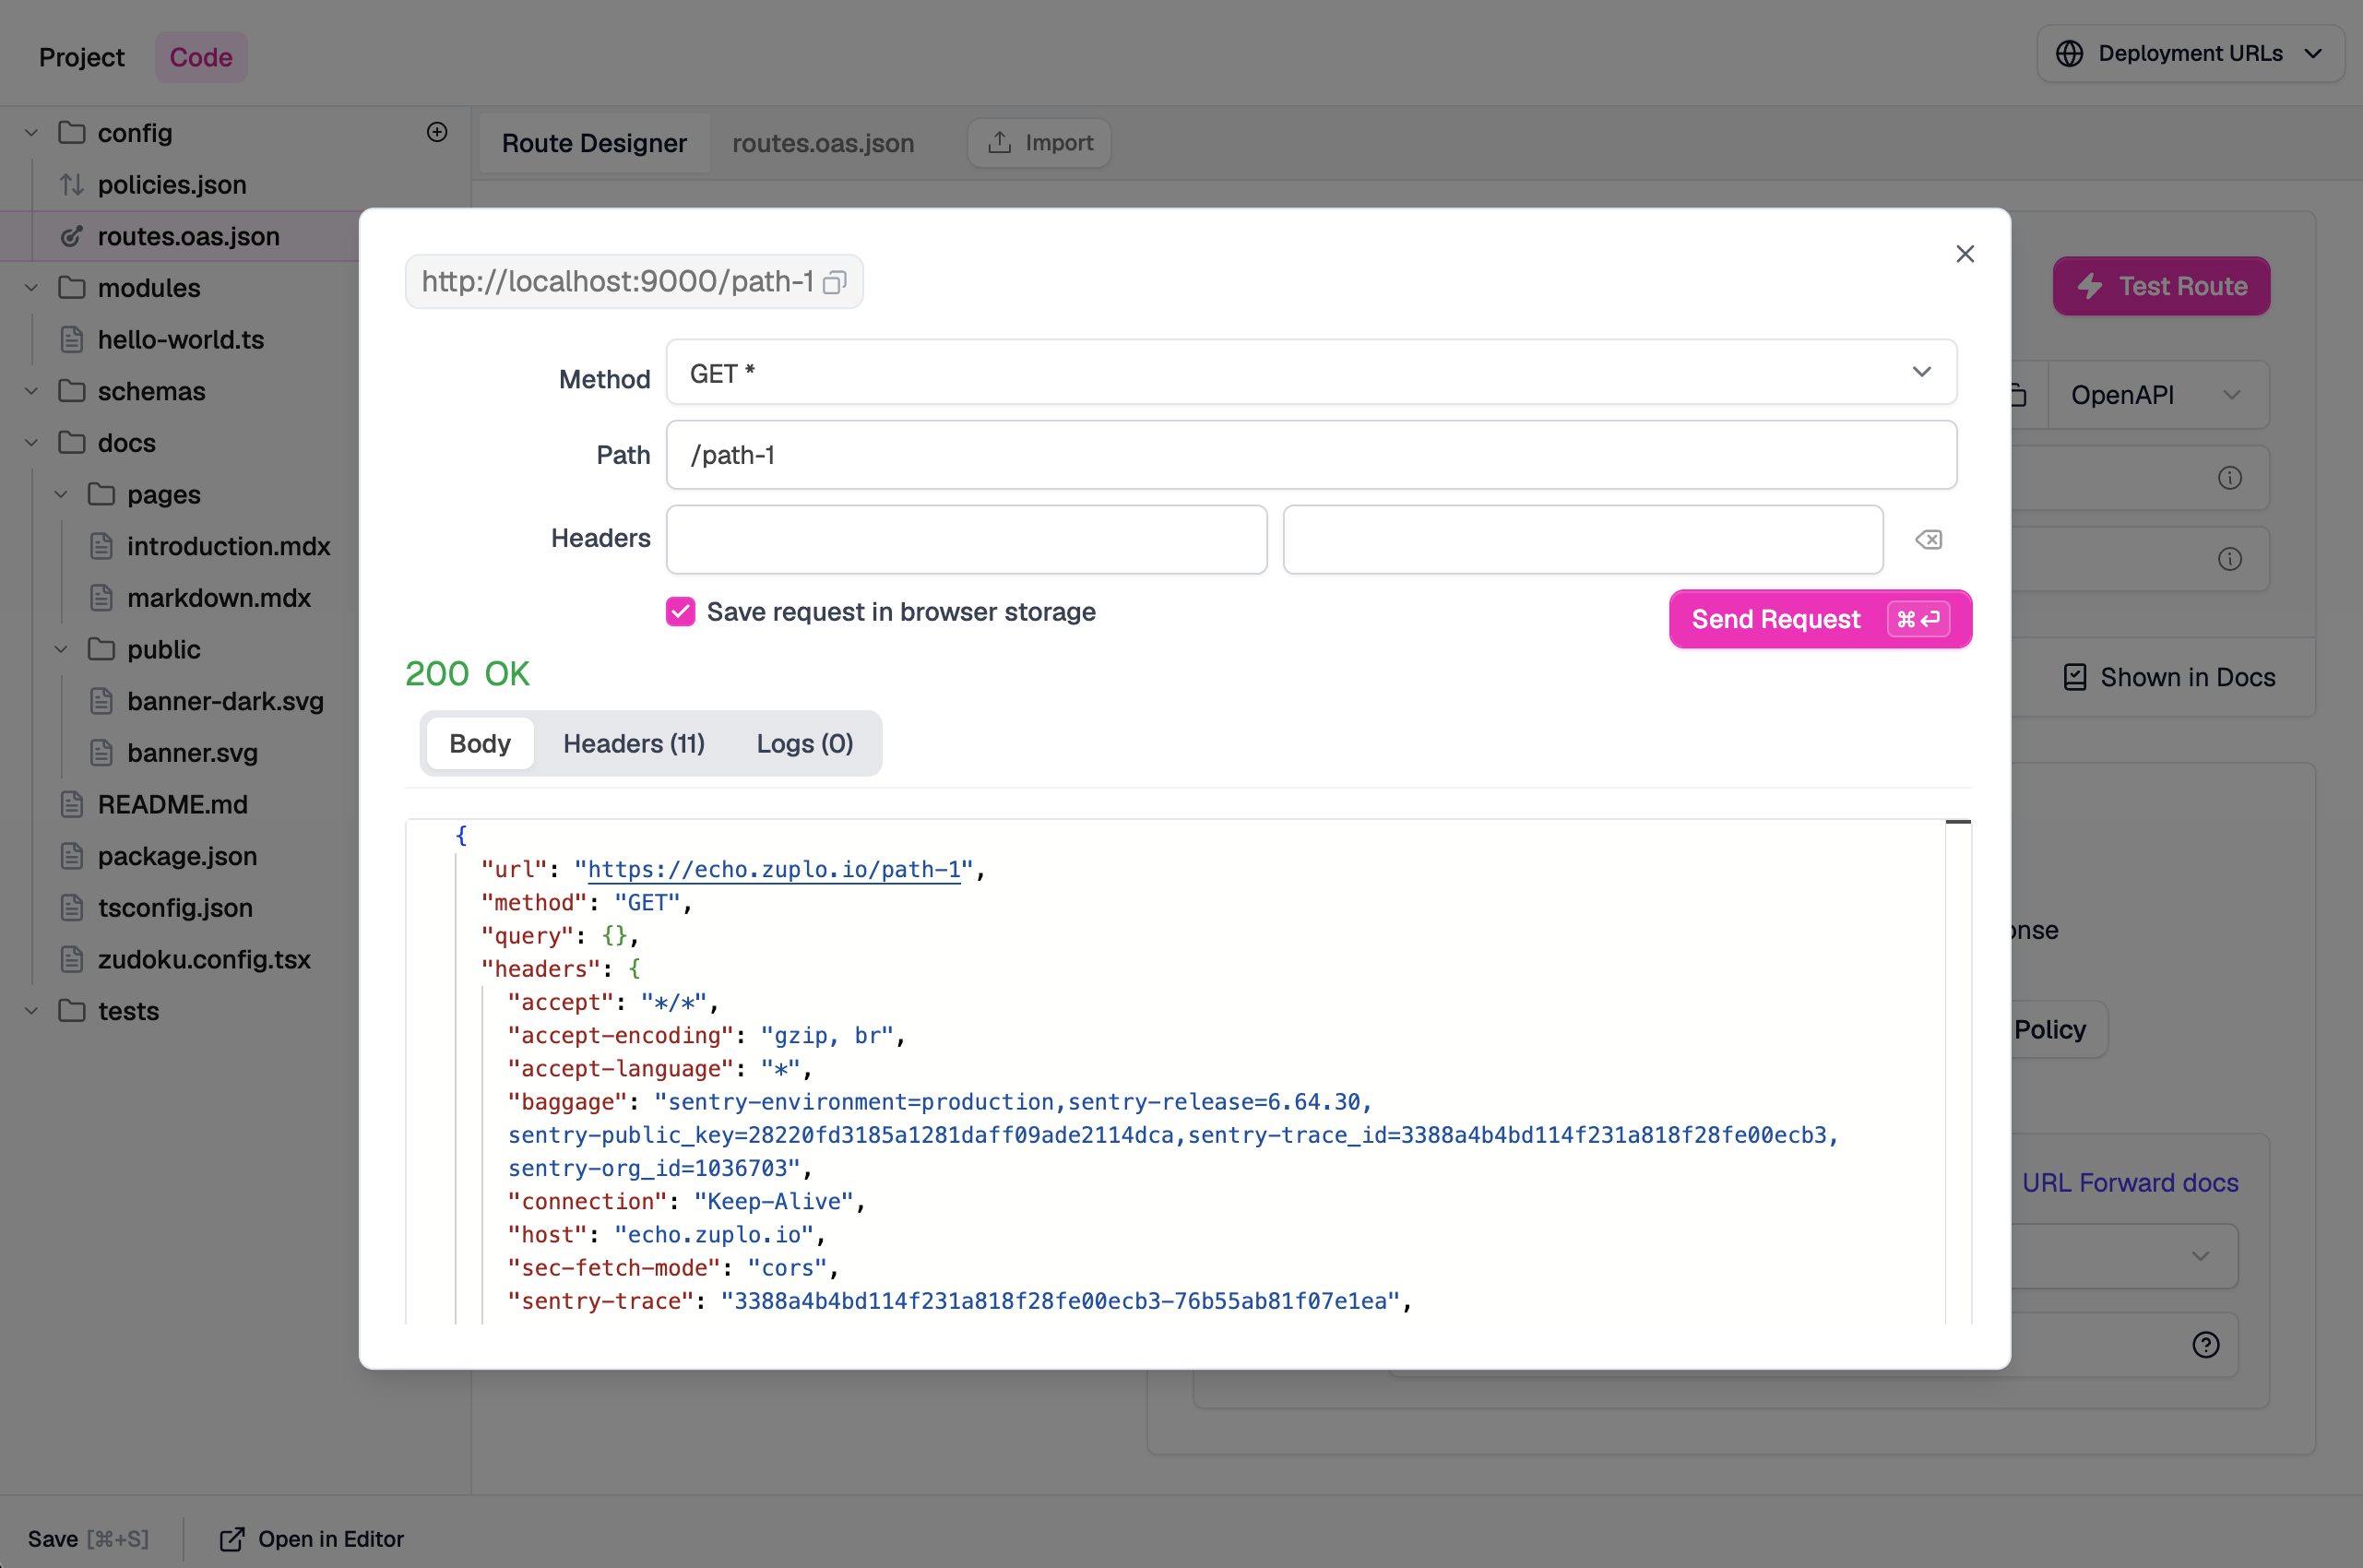
Alternatively, you can test the route in your favorite HTTP Client (for example Postman, HTTPie, curl, etc).
Code -
Now that you have a simple gateway running, we can deploy it to the cloud using the Zuplo CLI. When you run this command, you will be prompted to login if you haven't already.
If you haven't already created a Zuplo project, you will be prompted to do so. If you do have a project, you can choose to deploy to it or you can specify the
--projectflag to specify the project you want to deploy to.CodeYou should see output similar to this:
CodeYour project is now deployed to the cloud and you can access it at the URL provided in the output.
NEXT Try Step 2 - Add Rate Limiting to your API.